Resources
Find helpful articles, guides, and reports to help you grow your self-service retail business.
Reports
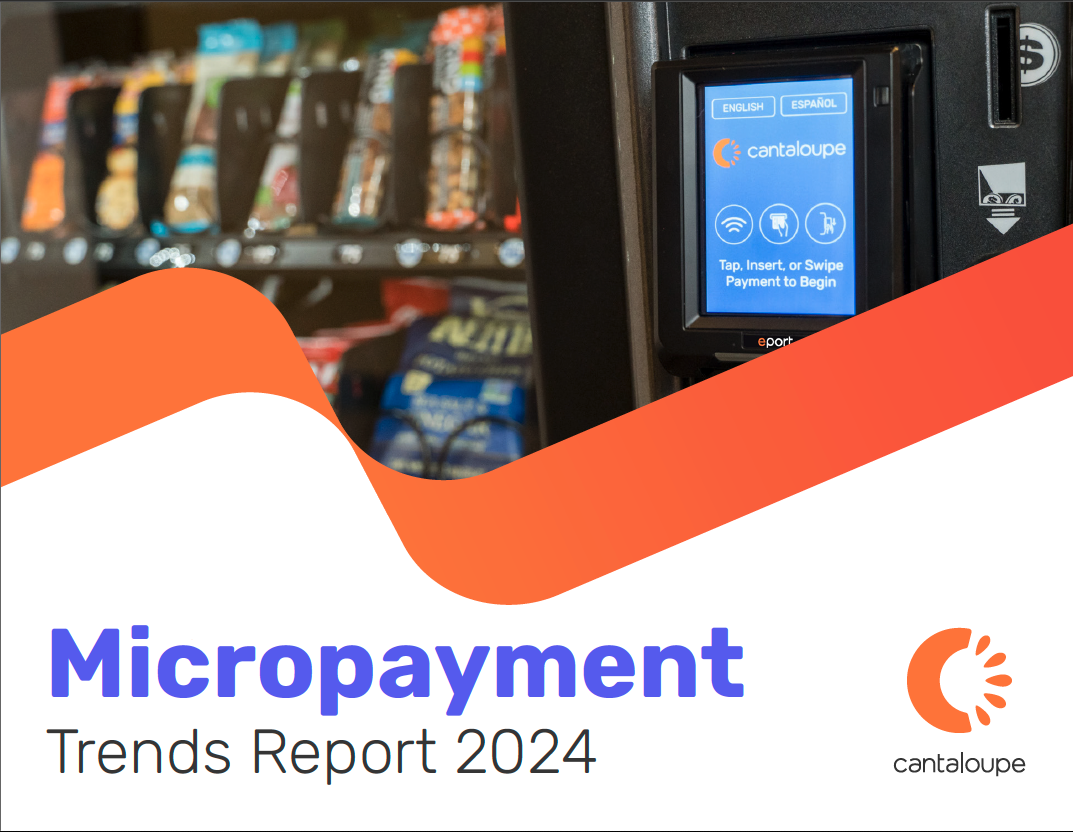
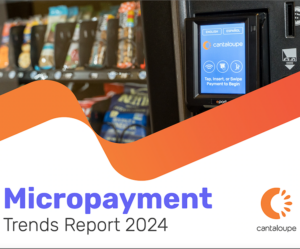
2024 Micropayment Trends Report
Micropayments, transactions under $10, are at the heart of self-service retail. This year’s Micropayment Trends Report showcases consumer spending trends in the vending, amusement and gaming, and micro market segments. Learn what trends you can capitalize on this year, and our predictions for next year!
Most Recent

Article
Feel Good Market: Pioneering Micro Markets in Panama
Business Management
2 min read


Videos
Brew Time: Lessons from the Trenches — Overcoming Challenges in Vending Operations
Business Management

Article
Five Strategies to Increase Your Micro Market Sales in 2024
Self-Service Trends
3 min read


Article
NAMA 2024 Show Recap: Embracing Innovation and Efficiency
Self-Service Trends
2 min read


Article
Revolutionizing Operations: Monumental Markets Streamlines Growing Business
Business Management
2 min read
Article
Thinking Outside the Office: Exploring Locations for Micro Markets
Business Management
2 min read

Article
Seed Markets: New Enhancements for Improved Efficiency
Business Management
2 min read

Article
Three Reasons You Should Install Card Readers on Your Gaming Machines
Business Management
2 min read


Podcasts
From “Where?” to Warehouse: Diving into the Details of Software-Driven Management
Business Management
Article
How Warehouse Picking Software Will Streamline Your Vending Operation
Business Management
3 min read


Article
Drinks on Demand: How KVM and Blue Agave Elevate Self-Serve Coffee with Kegerator Machines
Customer Engagement
2 min read

Podcasts
On-Tap: Cold Brew Kiosks — Unlocking the Secrets with Quinn Miller and KVM
Business Management
Article
Smart Coolers: The New Alternative to Vending Machines
Customer Engagement
2 min read
Articles
View All
Feel Good Market: Pioneering Micro Markets in Panama
July 10, 2024 | Business Management | 2 min read
A significant shift in self-service retail is taking place in Panama, spearheaded by Aldo Tejada and his company, Feel Good Market. The company’s micro markets are redefining the shopping experience by combining convenience and cutting-edge technology in unattended retail environments. Aldo’s journey is one marked by both adversity and success, making it a compelling story […]
Article
Five Strategies to Increase Your Micro Market Sales in 2024
Self-Service Trends
3 min read